Endfield Artificing Planner & Solver
Find the cheapest Good Match fodder for any T4 substat, priced at the cheapest assembly technique.
Pick a target T4 piece and the substat you want to roll, and the planner returns the cheapest piece whose base value on that substat is strictly higher: a Good Match, which roughly doubles your odds on each attempt. Every result is priced at its cheapest patch 1.4 assembly technique, so the Best Pick is also the lowest Wuling Stock Bill spend.
Quick Answer
The cheapest Good Match fodder for any T4 roll is the lowest-cost craftable piece, in the same slot as your target, whose base value on that substat is strictly higher than the target's. That condition lifts the per-attempt success rate from roughly 30-40% into the 60-70% range, and the planner's Best Pick badge always marks the cheapest piece that meets it at the highest available value.
Pity backstops everything. Dual Stat and Special Stat substats guarantee at 6, 12 and 20 attempts for +1, +2 and +3, and Single Stat substats at 12, 24 and 40. A worst-case max-out on one substat therefore costs 38 or 76 Wuling Artificing Catalysts. The catalyst count is fixed by pity; the Stock Bill side is what the planner minimises.
How to Read a Result Row
Once you pick a target and a substat, the planner lists every piece in the same slot (Armor, Gloves or Kit) that carries that substat, ranked by base value and then by cost. Each row shows the piece, its set, and its cheapest recipe as Wuling Stock Bills plus assembly components, with the other techniques listed underneath so you can see what you would pay without Pyrrolite unlocked.
The badges do the reading for you. Best Pick is the one piece to craft: highest base value, cheapest recipe. Tied stat · pricier means the piece matches the Best Pick's value but costs more, so it is listed only to show it is not better. Pyrrolite only marks the newest T4.3 recipes that accept no other technique. Same Gear is your target itself, shown for reference. Drop-only would mark a piece with no known recipe; every current T4 piece has one, so the tag is held for future gear.
Rows below the top value still work as fodder as long as their base value is strictly above your target's. If your target already sits at the top value for its slot, no piece can Good Match it, and every attempt on that substat runs at the base rate until pity lands. Knowing that before you start saves you from hunting for fodder that does not exist.
Find Best Fodder Gear
Select your target gear and substat to find the cheapest Good Match fodder — pieces with a strictly higher base value, the condition that boosts enhancement success rates from ~30-40% to ~60-70%.
Bookmark this gear: Hover any gear in the search results and click the star to save it to your personal list, then jump back to it anytime from the "My Bookmarks" panel below or the bookmarks row inside the search. Stored in this browser only — not synced to an account or across devices. Clearing your browser data, using incognito/private mode, or switching browsers will wipe your bookmarks, so don't do that if you want to keep them.
Best Picks for Strength
Good Match fodder — strictly higher base strength than target — ranked by base value then cheapest craft cost • Body gear only
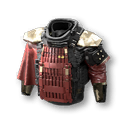
 360
360 50× Pyrrolite Component805× Pyrrolite Component-99%
 10×Xiranite8,000
 50×Cuprium8,000
 50×
50× 805× Pyrrolite Component-99%10×Xiranite8,00050×Cuprium8,00050×
 805× Pyrrolite Component-99%10×Xiranite8,00050×Cuprium8,00050×
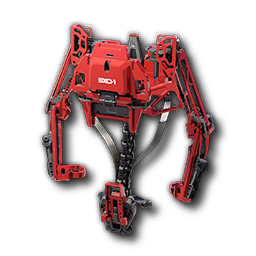 805× Pyrrolite Component-99%10×Xiranite8,00050×Cuprium8,00050×
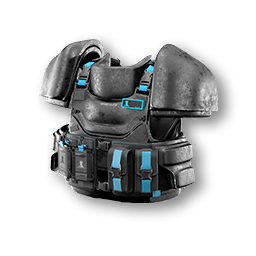 805× Pyrrolite Component-99%10×Xiranite8,00050×Cuprium8,00050×
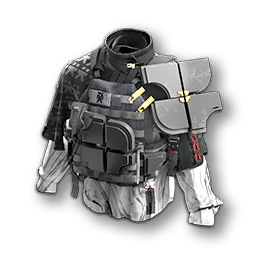 805× Pyrrolite Component-99%10×Xiranite8,00050×Cuprium8,00050×
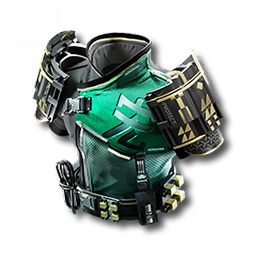 1605× Pyrrolite Component-99%10×Cuprium16,00050×
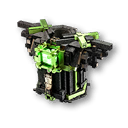 25025× Pyrrolite Component-99%50×
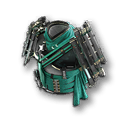 25025× Pyrrolite Component-99%50×
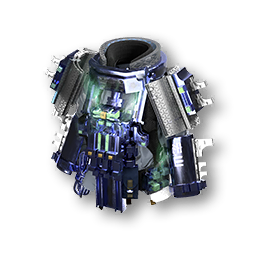 36050× Pyrrolite Component
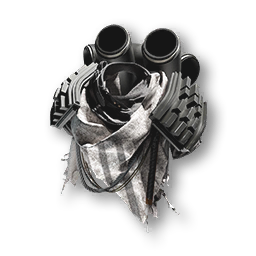 805× Pyrrolite Component-99%10×Xiranite8,00050×Cuprium8,00050×
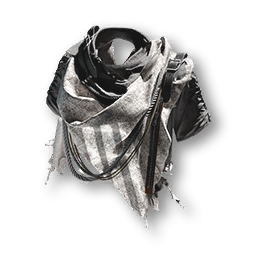 805× Pyrrolite Component-99%10×Xiranite8,00050×Cuprium8,00050×
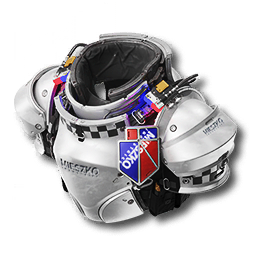 805× Pyrrolite Component-99%10×Xiranite8,00050×Cuprium8,00050×
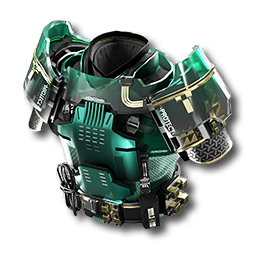 805× Pyrrolite Component-99%10×Xiranite8,00050×Cuprium8,00050×
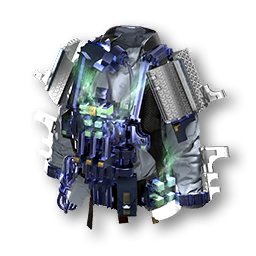 805× Pyrrolite Component-99%10×Xiranite8,00050×Cuprium8,00050×
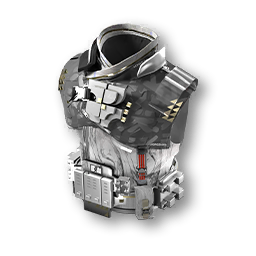 805× Pyrrolite Component-99%10×Xiranite8,00050×Cuprium8,00050×
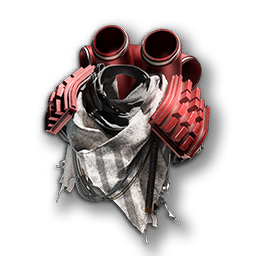 1605× Pyrrolite Component-99%10×Cuprium16,00050×
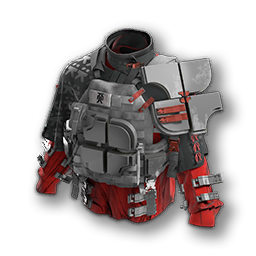 1605× Pyrrolite Component-99%10×Cuprium16,00050×
 25025× Pyrrolite Component-99%50×
 25025× Pyrrolite Component-99%50×
 25025× Pyrrolite Component-99%50×
💡 Enhancement Value Guide
Run a target through the planner above, copy the Best Pick into your outpost order, and the cost side of that roll is solved. The sections below walk through a real example, what the crafts actually cost per technique, how many catalysts pity can demand, and how the solver decides between pieces that look identical on paper.
On this page
Worked Example: Agility on a Frontiers Kit
Take the Frontiers Extra O2 Tube, a Kit piece with Agility at a base value of 32, and pick Agility as the substat to enhance. The planner scans 29 Kit pieces that carry Agility. Two share the top value of 43, which becomes 47, 51 and 55 at +1, +2 and +3: the Redeemer Tag T1 and the Rift Trekker Armor Slab.
The Redeemer Tag T1 costs 80 Wuling Stock Bills plus 5 Pyrrolite Components with the Pyrrolite technique, so it takes the Best Pick badge. The Rift Trekker Armor Slab clears the same bar, but it is a Pyrrolite-only T4.3 recipe at 360 bills plus 50 components, so it is tagged Tied stat · pricier. Same success odds, 4.5 times the bills and 10 times the components.
The next rows down, such as the Æthertech Stabilizer and the Bonekrusha Mask, sit at Agility 32. That equals the target, so they are not Good Matches, even though they carry the same stat and cost the same 80 bills. This is the mistake the planner exists to prevent: the fodder looks right in the inventory, and the roll quietly runs at the base rate.
Craft Cost by Assembly Technique
Since patch 1.4, every gold-quality recipe can be assembled with any technique you have unlocked, and the Pyrrolite technique (unlocked through the story mission "Stubbornly Lingers the Setting Sun") cuts the Stock Bill price by 99%. These are the per-piece costs the planner uses, grouped by recipe tier:
| Recipe tier | Pieces | Default techniques | Pyrrolite technique |
|---|---|---|---|
| T4 | 74 | 8,000 bills + 50 Xiranite, 50 Cuprium or 10 Hetonite Components | 80 bills + 5 components |
| T4 (AIC Fieldwork) | 15 | 3,000 bills + 20 Xiranite, 20 Cuprium or 4 Hetonite Components | 30 bills + 2 components |
| T4.1 | 30 | 16,000 bills + 50 Cuprium or 10 Hetonite Components | 160 bills + 5 components |
| T4.2 | 25 | 25,000 bills + 50 Hetonite Components | 250 bills + 25 components |
| T4.3 (incl. ★) | 23 | None | 360 bills + 50 components (Pyrrolite only) |
Two things follow from the table. First, with Pyrrolite unlocked, the Stock Bill cost of fodder almost disappears, and the real constraint becomes Pyrrolite Components. That is why the planner still separates an 80-bill, 5-component piece from a 360-bill, 50-component one. Second, if you have not reached the Pyrrolite mission yet, the default-technique column is your real price, and the planner's cost lines under each row show those numbers too.
Recycling T4 gear you will never build or feed returns Wuling Stock Bills, which makes it the natural way to fund fodder. Treat the locker as working capital: pieces with stat lines none of your targets need are worth more as a refund than sitting in storage.
Pity and the Worst-Case Catalyst Budget
Every attempt costs one Wuling Artificing Catalyst, and pity guarantees a success after a fixed number of attempts on the same substat. The rule depends on the substat's type, which the planner shows for every stat:
| Pity rule | +1 | +2 | +3 | Worst case, one substat | Worst case, three substats |
|---|---|---|---|---|---|
| Dual Stat | 6 | 12 | 20 | 38 catalysts | 114 catalysts |
| Special Stat | 6 | 12 | 20 | 38 catalysts | 114 catalysts |
| Single Stat | 12 | 24 | 40 | 76 catalysts | 228 catalysts |
Those ceilings are the numbers to budget against. A character wearing three T4 pieces has nine substat slots, and even half of them at worst-case pity is a large catalyst stockpile. Put catalysts into the substats that matter most for the build first, and push those to +3 before spreading attempts across everything else.
Good Match fodder does not lower the ceiling; it raises the chance of finishing well before it. The planner's cost ranking assumes the worst case, so the Best Pick keeps the Stock Bill cost of every attempt low even on a cold streak that runs all the way to pity.
Good Match in One Rule
The fodder's base value on the target substat must be strictly higher than the target's. Equal does not count. Every copy of a named piece has identical stats, so there is no per-drop luck to check: if the planner shows a value, every copy you own or craft has it.
The bar moves with the target. A low base value is easy to clear, and much of the slot qualifies. A target already near the top of its slot leaves only a handful of legal pieces, often Pyrrolite-only T4.3 recipes. For the deeper strategy (primary versus secondary attributes, cross-slot patterns, when to accept a Standard Match on purpose), see the advanced Artificing guide.
How the Solver Breaks Ties
Many T4 pieces share the same base value, especially inside set families and tier upgrades (Armor, Armor T1, Armor T2). The solver sorts every candidate by base value first, because higher-value fodder stays useful for higher target rolls, and by the Stock Bill cost of its cheapest technique second.
Among pieces tied at the top value, the cheapest craftable one is the single Best Pick. If several tie on both value and price, they all get the badge, and any of them is correct. Everything pricier at that value is tagged Tied stat · pricier, so you never spend 250 bills on a problem an 80-bill recipe already solves.
The Best Picks Matrix
The Best Pick finder answers one question: what do I feed into this roll? The Best Picks Matrix answers the planning question: for each slot, which piece has the highest value on each substat, set by set? Switch between Armor, Gloves and Kit, and each cell shows the top piece for that substat and set, with the same Best, Tied, Pyrrolite only and -99% discount markers.
Use it before you commit to a build. It shows at a glance which sets carry deep coverage on the stats you care about, and clicking any cell loads that piece into the Best Pick finder, so you can go from "which set?" to "what do I craft?" without leaving the page.
Where This Fits in a Build
Set bonuses come before substat polish. A complete set usually adds more to a character's output than taking one substat from +2 to +3 on a mismatched piece, so lock in the set first, then point the planner at each substat. For which set fits each operator, see gear sets by operator, and for how the whole system works from the first catalyst, the Artificing guide.
Which substats to roll first depends on the role. Damage dealers generally want their main attribute, ATK and CRIT lines plus the elemental DMG Dealt Bonus for their element; supports lean on Healing or SP Gain for rotation breakpoints. Filter to those stats first and read the Best Pick for each, which is faster than scanning the whole list.
Bookmarks for Active Builds
The star button next to the target gear selector saves a piece to My Bookmarks, a row of chips above the planner. Click a chip to load that piece, or the × to remove it. It is built for switching between the handful of pieces you are actively building.
Bookmarks live in your browser's localStorage only: no account, no sync, no cloud backup. Clearing site data, private browsing, or switching browser or device wipes them, so screenshot a long list before any browser cleanup.
How This Planner Is Built
Gear, substats, enhancement values and pity rules come from the game's own equipment tables (EquipTable and the enhancement guarantee tables), so every base value and +1/+2/+3 step in the planner is the in-game number, not a community estimate. Substat names follow the official English client, such as Cryo & Electric DMG Dealt Bonus.
Craft costs per assembly technique come from the community endfieldtools.dev gear artificing solver, with the AIC Fieldwork recipes verified in-game by hand. The recipe generator refuses to run if any T4 piece lacks a recipe, so new gear cannot silently drop out of the rankings. Success-rate figures on this page (roughly 30-40% base, 60-70% on a Good Match) are community-observed ranges, not datamined constants; pity counts are exact.
Data last checked Sep 27, 2026: 167 T4 pieces across 16 sets plus 13 non-set pieces, 24 substat types. The full dataset is published as machine-readable JSON under CC BY 4.0.